
Manufacturing Since 1986
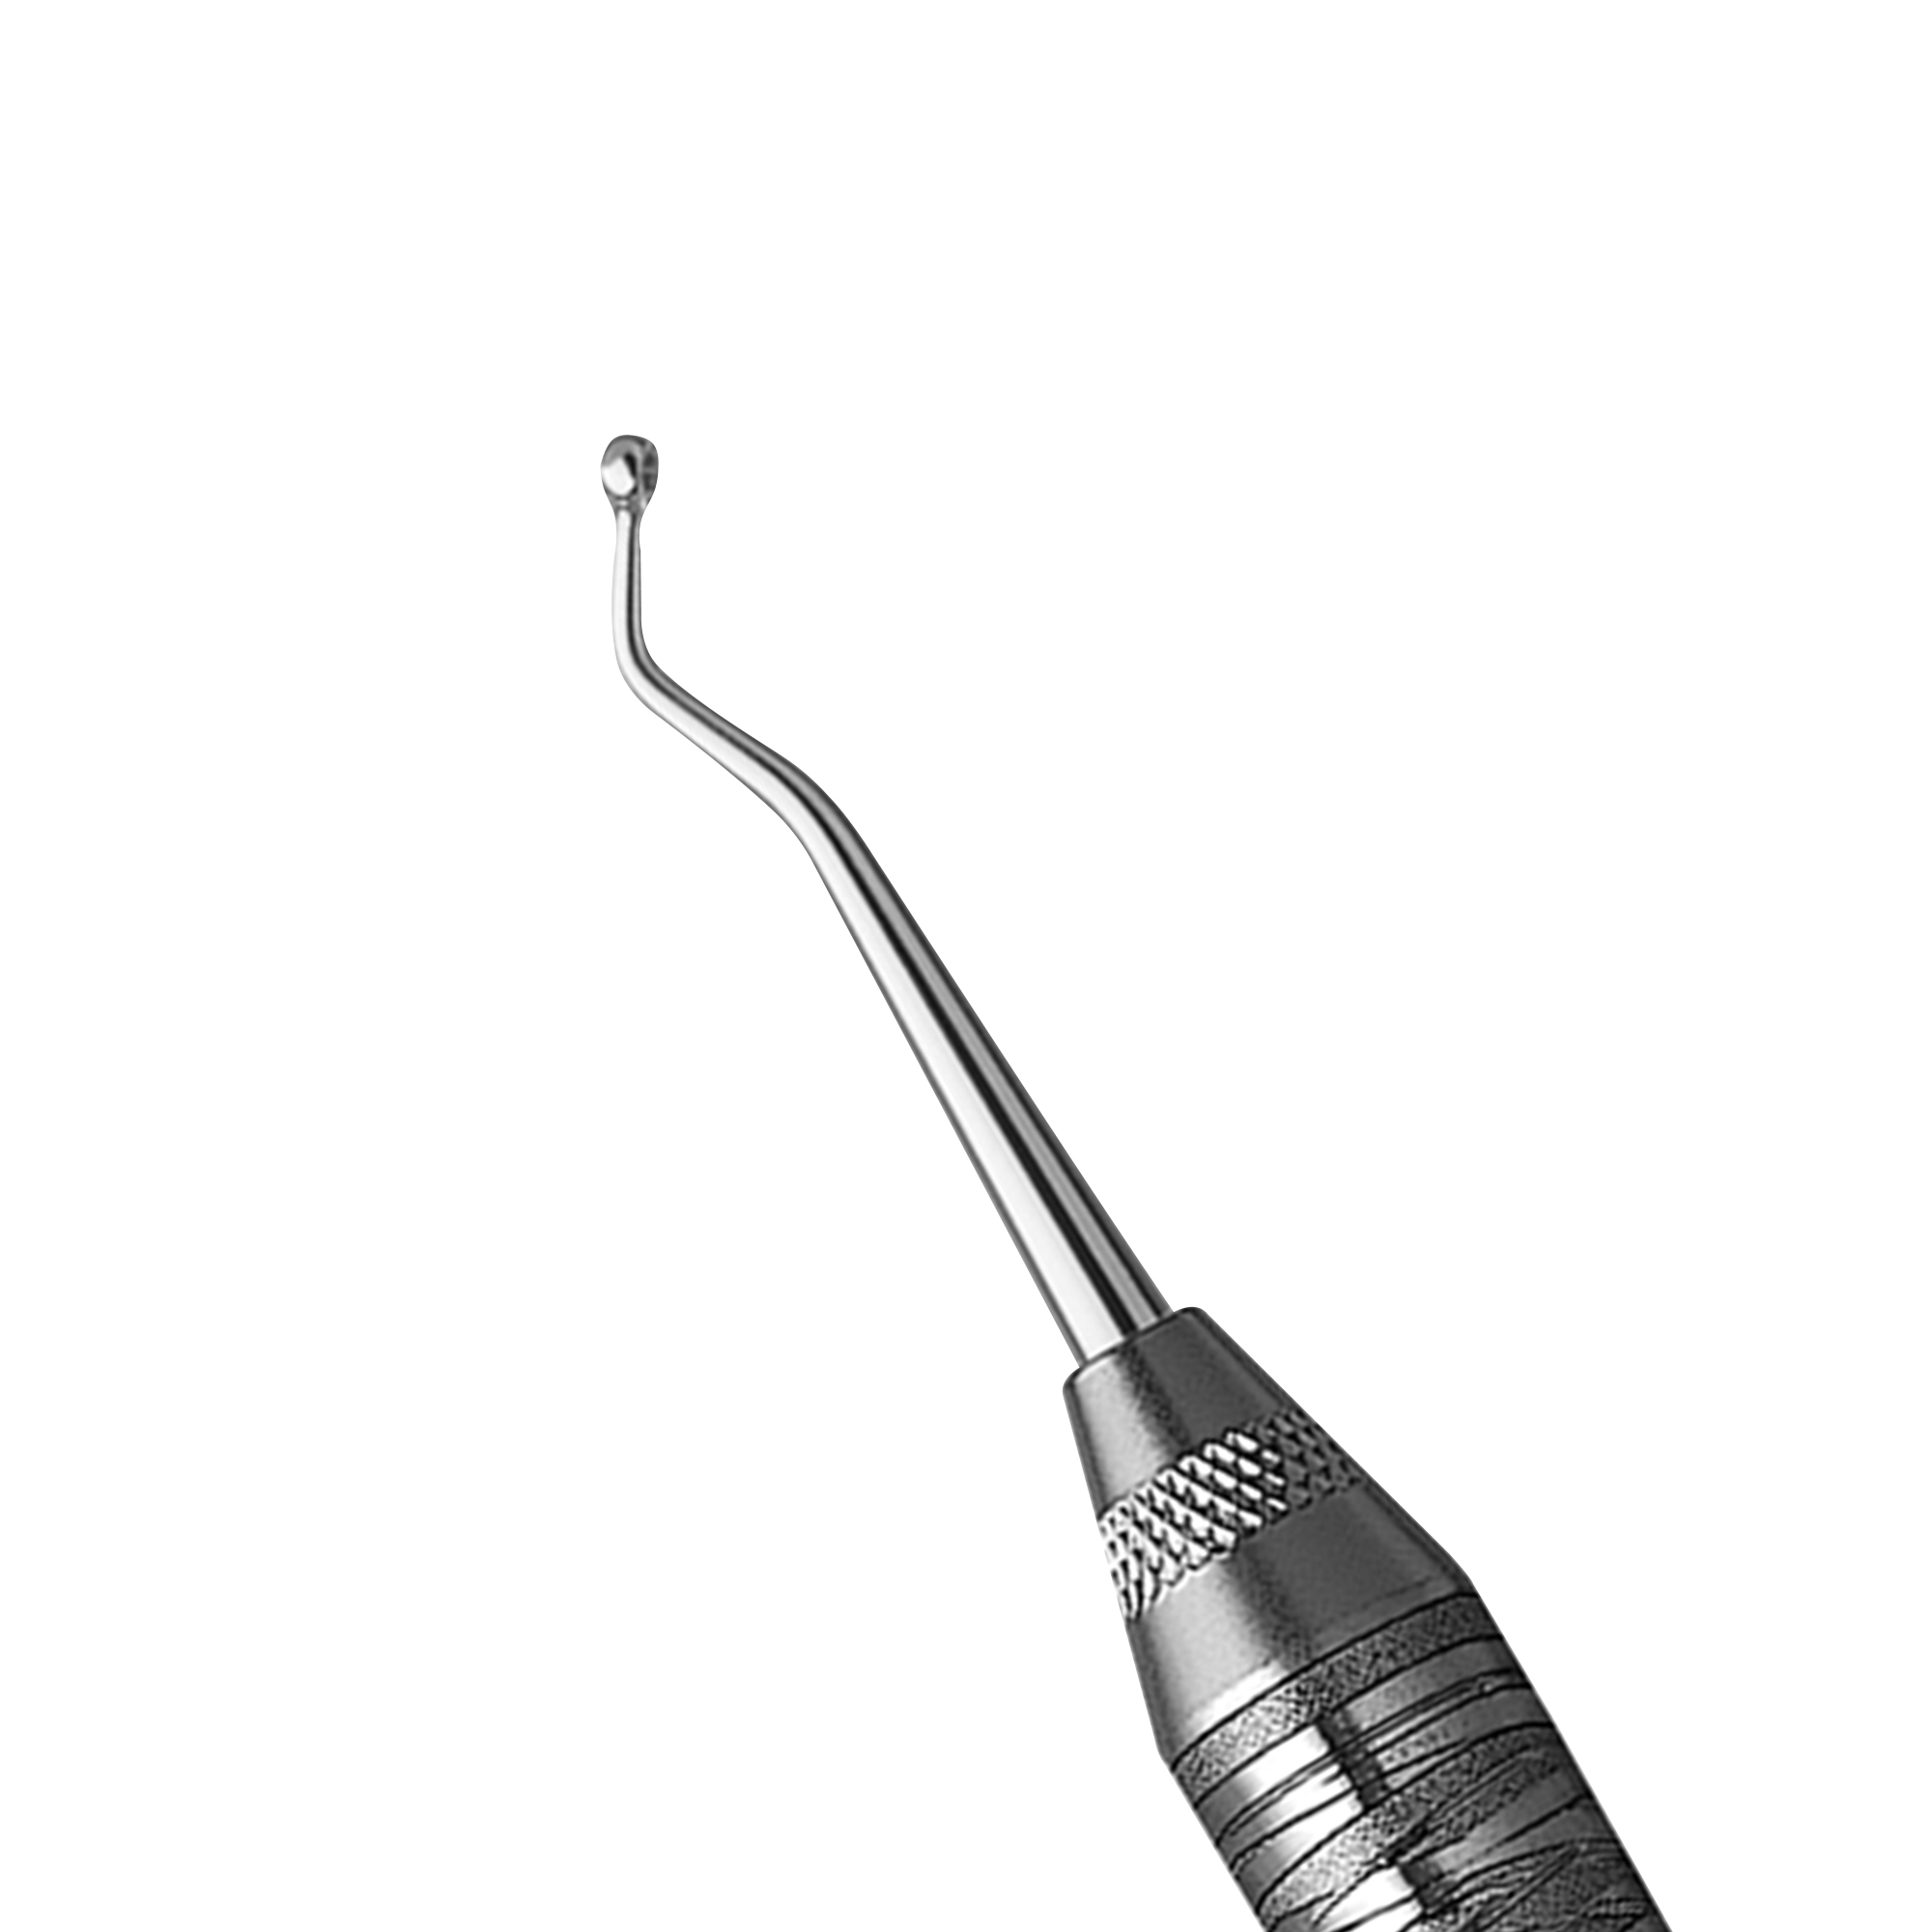
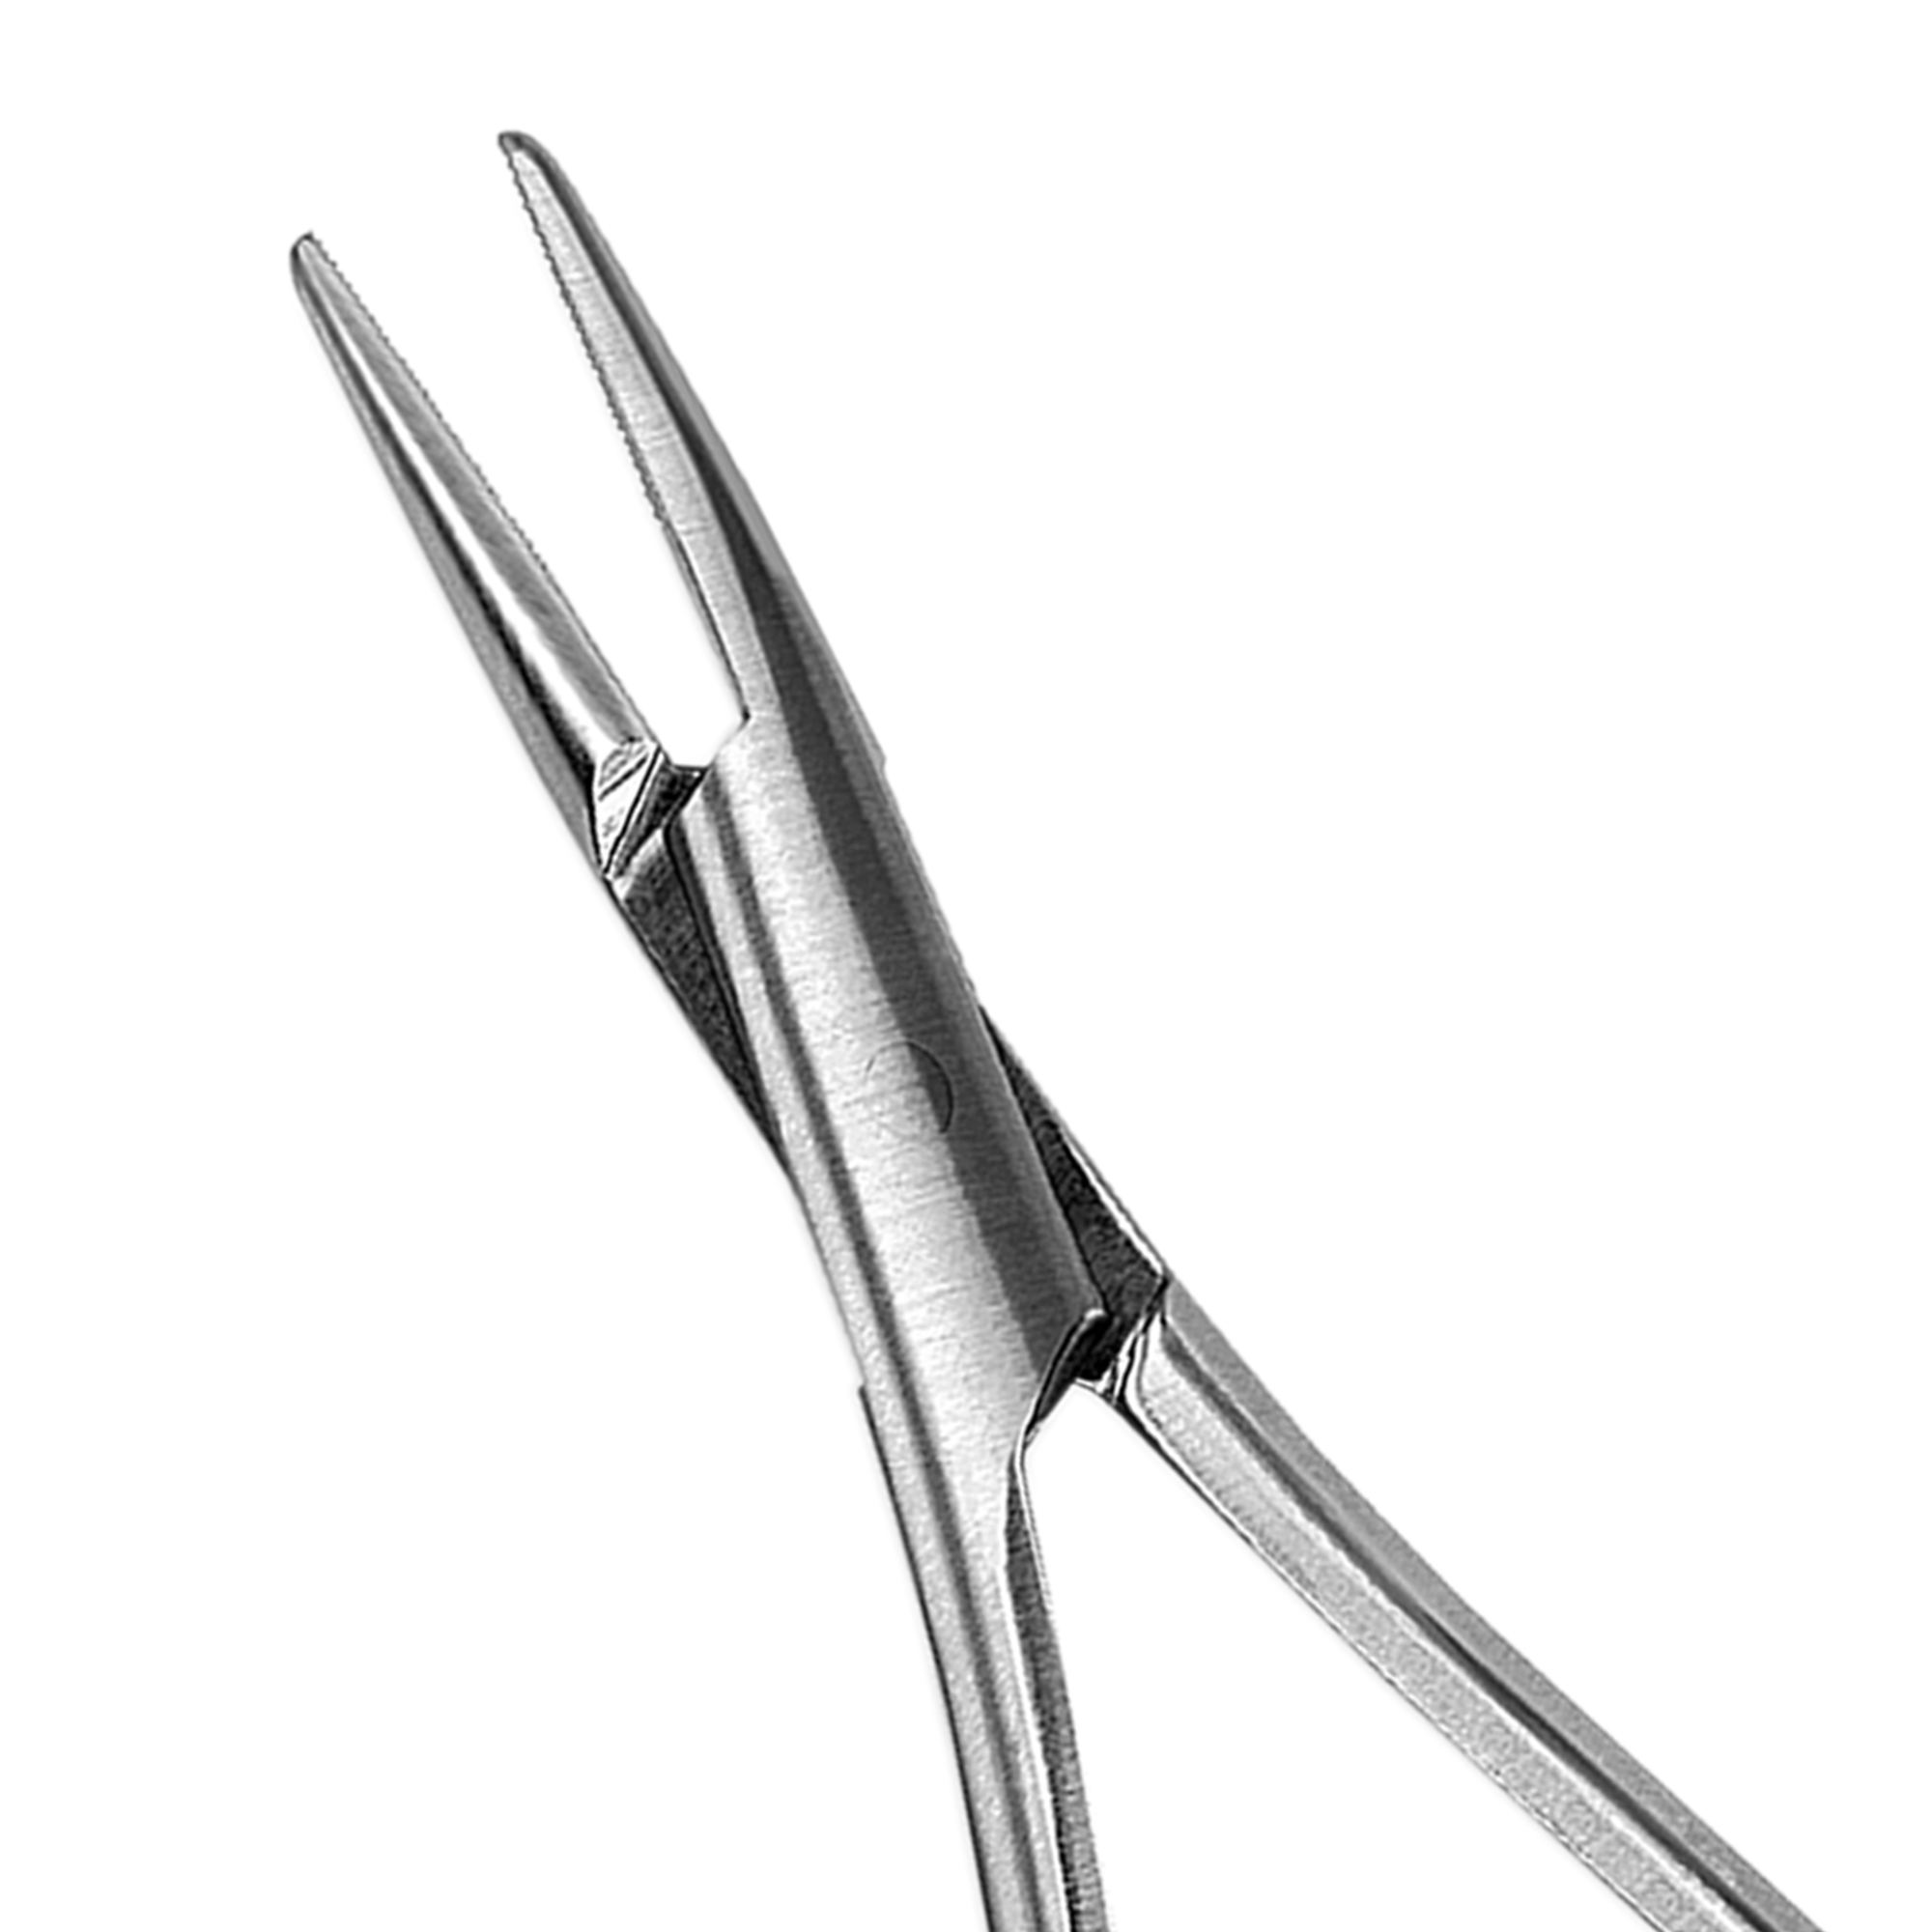
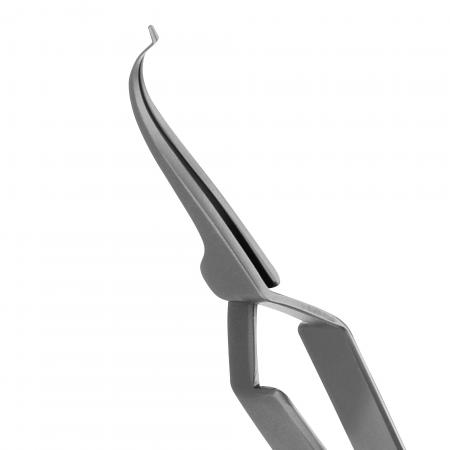
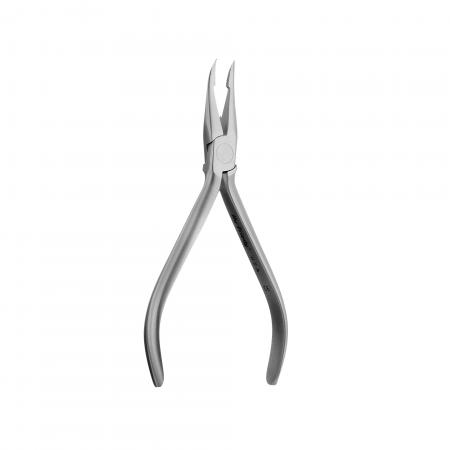
Our products

1. RINSING
Immediately after surgery, rinse instruments under warm (not hot) running water. Rinse should remove all blood, body fluids and tissue.
2. CLEANING
(If not done immediately after rinsing, instru-ments should be submerged in a solution of water and neutral PH(7) detergent.)
A. Ultrasonic Cleaning
For micro and delicate instruments, use manual cleaning (step C). Instruments should be processed in a cleaner for the full recommended cycle time – usually 5 to 10 minutes.Place instruments in open position into the ultrasonic cleaner. Make sure that "Sharp" (scissors, knives osteotomes, etc.) blades do not touch other instruments.
All Instruments have to be fully
submerged.
Do not place dissimilar metals (stainless,copper, chrome plated, etc.) in the same cleaning cycle. Change solution frequently – at least as often as manufacturer recommends. Rinse instruments after ultrasonic cleaning with water to remove ultrasonic cleaning solution.
B. Automatic Washer Sterilizers
Follow manufacturers recommendations but make sure instruments are lubricated after last rinse cycle and before sterilization cycle.
C. Manual Cleaning
Most instrument manufacturers recommend ultrasonic cleaning as the best and most effective way to clean surgical instruments, particularly those with hinges, locks and other moving parts. If ultra sonic cleaning is not available observe the following steps.
3. AFTER CLEANING
If instruments are to be stored, let them air dry and store them in a clean and dry environment.
4. AUTOCLAVING
If instruments are to be reused or autoclaved:
A.
Lubricate all instruments which have any "metal to metal" action such as scissors, hemostats, needle holders, self-retaining retractors, etc.
Recommend surgical lubricants such as instrument milk are best. Do not use WD-40, oil or other industrial lubricants.
B.
Put instruments up for autoclaving either individually or in sets. Individual Instruments Disposable paper or plastic pouches are ideal. Make sure you use a wide enough pouch (4" or wider) for instruments with ratchet locks such as needle holders and hemostats so the instrument can be sterilized in an open (unlocked) position. Instrument Sets Unlock all instruments and sterilize them in an open position. Place heavy instruments on bottom of set (when two layers are required).
Never lock an instrument during autoclav-ing. It will not be sterile as steam cannot reach the metal to metal surfaces. The instrument will develop cracks in hinge areas because of heat expansion during the autoclave cycle. Do not overload the autoclave chamber as pockets may form that do not permit steam penetration. Place towel on bottom of pan to absorb excess moisture during autoclav-ing. This will reduce the chances of getting "Wet packs". Make sure the towels used in sterilization of instruments have no deter- gent residue and are neutral – PH(7) if immersed in water. This can be a real problem as laundries frequently use inex- pensive but high PH(9-13) detergents and do not properly rinse out or neutralize those detergents in the final wash/rinse cycle. Also, some times bleaches such as Clorox are added and are not neutralized.
All right reserved JSF developed by Defox Technologies